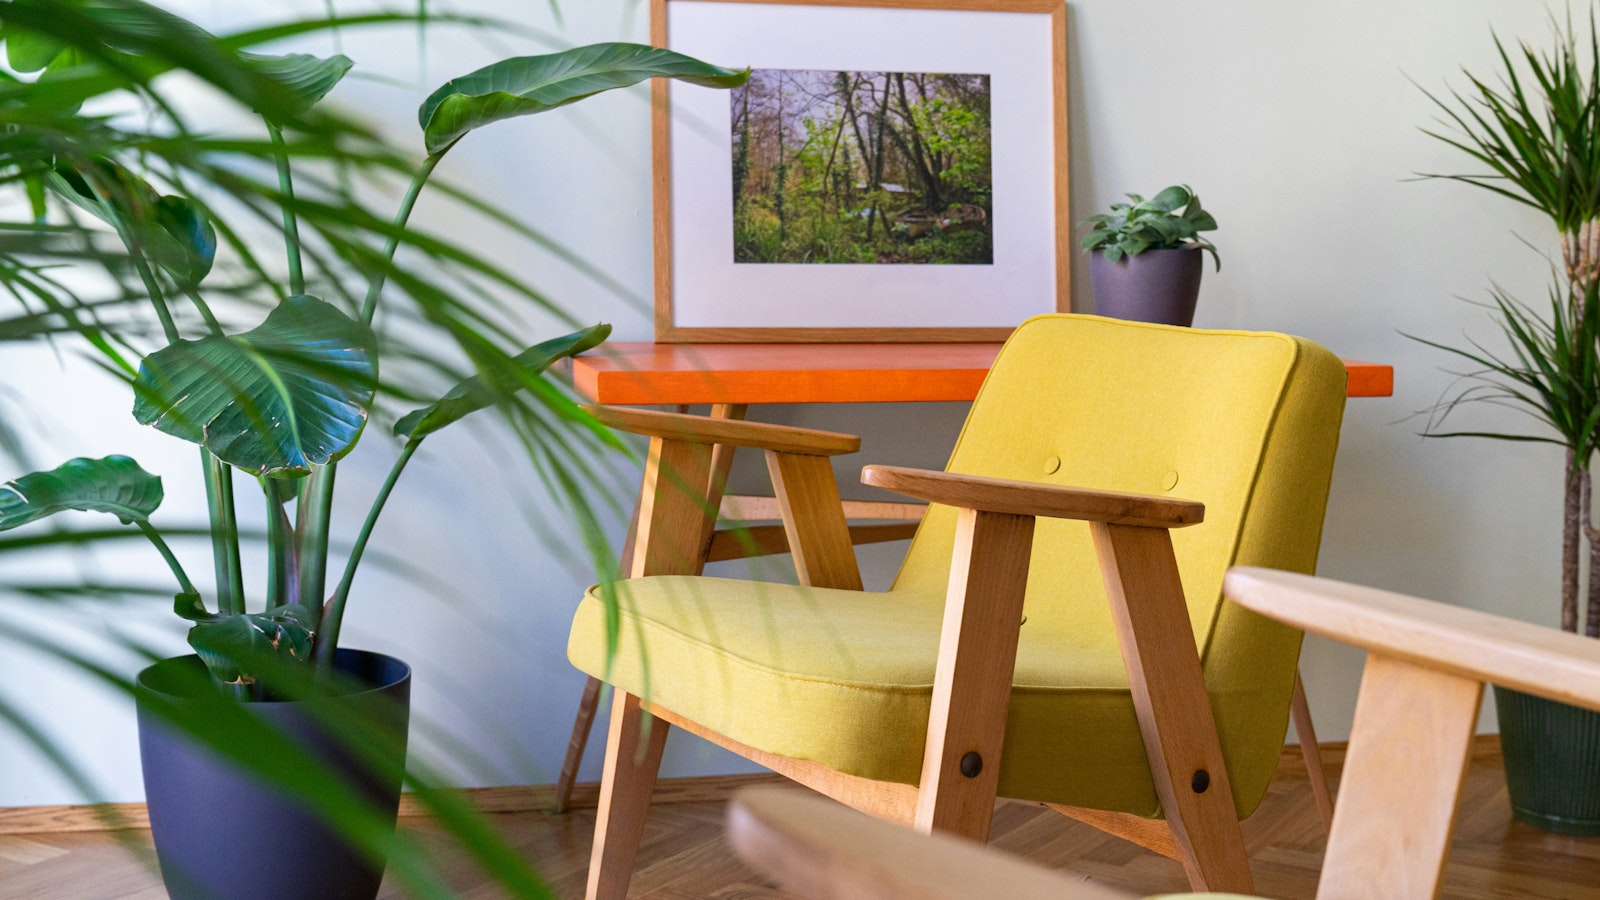
Hands up: who else has thousands of photos living inside the palm-sized portal of their phone, but barely prints any of them? Meanwhile, our parents’ and grandparents’ homes were full of carefully catalogued albums and frames on every surface – images so familiar they felt like part of the furniture.
Our 2026 resolution? To put that right. To actually print the pictures we love and invest in a few beautiful frames. From walnut inlay and marquetry to tortoiseshell, stripes and joyful pops of colour, these are the frames we have our eye on – and the ones that might finally persuade our camera roll to make it onto our walls and manetlepieces.

In The Frame: 21 Ways To Give Your Photos The Spotlight
From marquetry and walnut to stripes, bobbles and bold colour, these are the chic frames that will finally get your favourite photos out of your phone and onto your walls.


FAQs On Grouping Photo Frames & Displaying Your Photos
1. How do I start planning a grouped photo display or gallery wall?
Start by gathering all the frames and prints you’re considering and lay them out on the floor. You can sketch the intended area on the wall or use brown parcel paper templates to play with layouts before hanging anything.
2. What spacing should I use between frames?
A consistent gap of about 3 to 6 inches between frames generally looks balanced, larger spacing for big pieces, smaller for compact groupings.
3. Should I align my frames on a line?
Yes, aligning frames along a central horizontal line helps tie mixed landscape and portrait orientations together visually, making even an eclectic mix feel coordinated.
4. Can I mix different frame styles?
Absolutely! Mixing frame styles and materials can add character but it’s most successful when there’s a unifying thread (e.g., a colour palette, material finish, or theme in the photos) so it doesn’t feel chaotic.
5. What’s the best height to hang frames?
A useful rule for individual and grouped hangings is to position the centre of the arrangement at around eye level (roughly 57 to 60 inches from the floor), so it feels natural to view.
6. Should frames be symmetrical?
Symmetry offers a structured, formal look, but asymmetrical groupings (with balanced visual weight) can feel more dynamic and modern. The right choice depends on the style of your space.
7. What’s a quick way to make groupings feel cohesive?
Using matching materials or a consistent colour palette across frames, even if the frames differ in style, helps unify the grouping.
Top Tips for Grouping Photo Frames Together
1. Create a Focal Point First
Choose your most visually impactful frame (largest or most meaningful) and build around it — this gives the eye a starting point and anchors the arrangement.
2. Use Templates Before Hanging
Cut paper shapes the size of your frames and tape them to the wall until you find a composition you like. This prevents unnecessary holes in the wall.
3. Keep Even Spacing
Consistent spacing (roughly 3 to 6 inches) helps the grouping read as a single unit rather than a collection of disconnected pieces.
4. Balance Size and Variety
Mix larger and smaller frames but avoid placing many large ones at one end: balance visual weight by varying sizes and distribution.
5. Coordinate Colour or Theme
Select frames that share a colour palette or match the décor scheme of the room to keep the overall look harmonious.
6. Play With Shapes and Orientations
Don’t feel confined to rigid grids: staggered layouts, triangular compositions, or even leaning frames on ledges can feel more relaxed and engaging.
7. Consider Ledges or Shelves
Picture ledges let you layer and swap frames easily without rehanging nails. This approach works well for renters or frequent refreshes.
8. Connect to the Room's Architecture
Align with furniture edges (e.g. above a sofa or console) or architectural lines to help the grouping feel intentional within the space.
Additional Tips On Framing
• Balance Frame Colours with Décor: Neutral black/white frames often blend easily with most interiors; coloured or wood frames can add warmth and character.
• Leverage Negative Space: Don’t cram every wall. Leaving intentional gaps can create a sense of calm and helps your frames stand out.
• Protect with UV Glass & Archival Materials: If the display gets light exposure, consider UV?filtering glass and acid?free mounts to protect photos.
Start by gathering all the frames and prints you’re considering and lay them out on the floor. You can sketch the intended area on the wall or use brown parcel paper templates to play with layouts before hanging anything.
2. What spacing should I use between frames?
A consistent gap of about 3 to 6 inches between frames generally looks balanced, larger spacing for big pieces, smaller for compact groupings.
3. Should I align my frames on a line?
Yes, aligning frames along a central horizontal line helps tie mixed landscape and portrait orientations together visually, making even an eclectic mix feel coordinated.
4. Can I mix different frame styles?
Absolutely! Mixing frame styles and materials can add character but it’s most successful when there’s a unifying thread (e.g., a colour palette, material finish, or theme in the photos) so it doesn’t feel chaotic.
5. What’s the best height to hang frames?
A useful rule for individual and grouped hangings is to position the centre of the arrangement at around eye level (roughly 57 to 60 inches from the floor), so it feels natural to view.
6. Should frames be symmetrical?
Symmetry offers a structured, formal look, but asymmetrical groupings (with balanced visual weight) can feel more dynamic and modern. The right choice depends on the style of your space.
7. What’s a quick way to make groupings feel cohesive?
Using matching materials or a consistent colour palette across frames, even if the frames differ in style, helps unify the grouping.
Top Tips for Grouping Photo Frames Together
1. Create a Focal Point First
Choose your most visually impactful frame (largest or most meaningful) and build around it — this gives the eye a starting point and anchors the arrangement.
2. Use Templates Before Hanging
Cut paper shapes the size of your frames and tape them to the wall until you find a composition you like. This prevents unnecessary holes in the wall.
3. Keep Even Spacing
Consistent spacing (roughly 3 to 6 inches) helps the grouping read as a single unit rather than a collection of disconnected pieces.
4. Balance Size and Variety
Mix larger and smaller frames but avoid placing many large ones at one end: balance visual weight by varying sizes and distribution.
5. Coordinate Colour or Theme
Select frames that share a colour palette or match the décor scheme of the room to keep the overall look harmonious.
6. Play With Shapes and Orientations
Don’t feel confined to rigid grids: staggered layouts, triangular compositions, or even leaning frames on ledges can feel more relaxed and engaging.
7. Consider Ledges or Shelves
Picture ledges let you layer and swap frames easily without rehanging nails. This approach works well for renters or frequent refreshes.
8. Connect to the Room's Architecture
Align with furniture edges (e.g. above a sofa or console) or architectural lines to help the grouping feel intentional within the space.
Additional Tips On Framing
• Balance Frame Colours with Décor: Neutral black/white frames often blend easily with most interiors; coloured or wood frames can add warmth and character.
• Leverage Negative Space: Don’t cram every wall. Leaving intentional gaps can create a sense of calm and helps your frames stand out.
• Protect with UV Glass & Archival Materials: If the display gets light exposure, consider UV?filtering glass and acid?free mounts to protect photos.

By
Lucy Abletshauser
·
Published January 2026
Lucy is The Guide's go-to expert on the best online buys, from fashion to interiors. An aesthete to her core, she does the trawling so you don't have to.